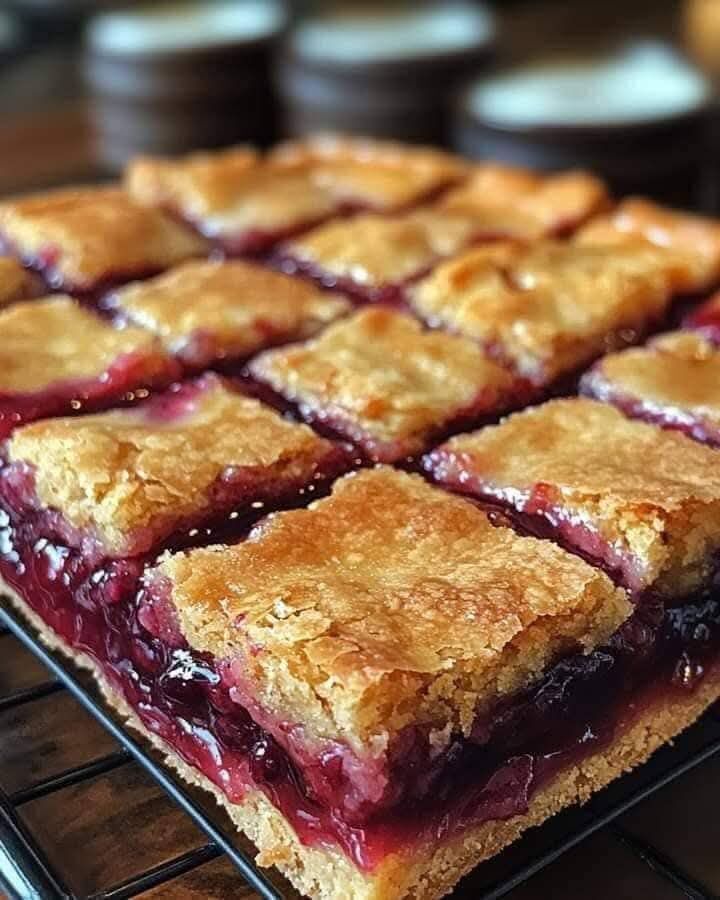
These Cherry Pie Bars are a sweet, buttery treat that combines a tender vanilla-almond crust with juicy cherry filling and a delicate glaze. They’re the perfect dessert for family gatherings, potlucks, or anytime you crave the flavor of cherry pie in an easy bar form. Each bite delivers a melt-in-your-mouth texture balanced with a burst of fruity sweetness.
Ingredients
For the Bars
- Butter (softened): 1 cup
- Sugar: 2 cups
- Eggs: 4 large
- Vanilla Extract: 1 teaspoon
- Almond Extract: ¼ teaspoon
- All-Purpose Flour: 3 cups
- Salt: 1 teaspoon
For the Filling
- Cherry Pie Filling: 2 cans (21 ounces each)
For the Glaze
- Powdered Sugar: 1 cup
- Vanilla Extract: ½ teaspoon
- Almond Extract: ½ teaspoon
- Milk: 2 tablespoons
Instructions
- Preheat and Prepare
Preheat your oven to 350°F (175°C). Lightly grease a 15×10-inch baking pan or line it with parchment paper for easy cleanup. - Make the Batter
In a large bowl, cream together the softened butter and sugar until light and fluffy. Beat in the eggs one at a time, then stir in the vanilla and almond extracts. - Add Dry Ingredients
Gradually mix in the flour and salt until the batter is smooth and well combined. - Assemble the Bars
Spread two-thirds of the batter evenly into the prepared pan. Spoon the cherry pie filling over the top. Drop small spoonfuls of the remaining batter over the cherry layer. - Bake
Bake for 30–40 minutes, or until the top is lightly golden and a toothpick inserted in the center comes out clean. Allow to cool completely. - Make the Glaze
In a small bowl, whisk together powdered sugar, milk, vanilla extract, and almond extract until smooth. - Glaze and Serve
Drizzle the glaze over the cooled bars. Cut into squares or rectangles and serve.
Who is This Recipe For?
This recipe is perfect for:
- Home bakers who love classic desserts with a fruity twist.
- Anyone looking for a simple yet impressive treat for parties or bake sales.
- Busy families who want a make-ahead dessert that tastes like a homemade pie but takes half the effort.
Why It’s Great
- Easy and quick: No need to roll out pie crusts or deal with complicated steps.
- Perfect texture: Soft, buttery base with a rich cherry topping.
- Crowd-pleaser: Makes a large batch, perfect for sharing.
- Customizable: Try with blueberry, apple, or raspberry filling too!
Kitchen Equipment Needed
- 15×10-inch baking pan
- Large mixing bowls
- Electric mixer (optional, for creaming butter)
- Measuring cups and spoons
- Whisk
- Spatula
- Wire rack
Storage
- Room Temperature: Store in an airtight container for up to 2 days.
- Refrigerator: Keeps well for 5–6 days.
- Freezer: Freeze in layers (with parchment between) for up to 3 months. Thaw at room temperature before serving.
FAQ
Q: Can I use homemade cherry filling instead of canned?
A: Absolutely! You can make your own cherry pie filling using fresh or frozen cherries, sugar, and cornstarch.
Q: Can I make this ahead of time?
A: Yes. These bars taste even better the next day as the flavors meld together.
Q: Can I substitute almond extract?
A: If you’re not a fan of almond flavor, simply replace it with more vanilla extract.
Conclusion
These Cherry Pie Bars deliver all the comfort and flavor of a homemade cherry pie — with far less work. Soft, golden, and drizzled with sweet glaze, they’re a treat that never fails to impress. Whether for holidays, gatherings, or cozy weekends, this easy dessert is sure to become one of your go-to recipes.